Northern Lights Photography Iceland: Settings, Locations, and Tips
Book an experience
Book this activity
Lock in your preferred date. Prices shown are per person — free cancellation on most bookings.
Photographing the Northern Lights in Iceland requires three things: a night with genuine aurora activity, a location away from light pollution, and camera settings that can capture faint light over a long exposure. None of these is difficult to arrange in Iceland between September and March — but all three need to come together on the same night.
This guide covers everything you need: the gear, the settings, the forecasting tools, the best locations within reach of Reykjavík, and what to wear when you’re standing in a field at midnight in October.
Camera Settings: Where to Start
Northern Lights photography is long-exposure low-light work. The goal is to capture enough light from a dim, fast-moving phenomenon without blurring movement or adding too much noise.
Starting point settings:
- ISO: 800–3200. Begin at ISO 1600 and adjust based on the brightness of the display and the noise level in your images.
- Aperture: f/2.8 or wider. f/1.8 or f/1.4 if your lens offers it — every stop of additional light helps. A kit zoom lens at f/5.6 will not perform adequately.
- Shutter speed: 5–25 seconds. A calm, slow-moving aurora can tolerate 20–25 seconds. An active, fast-moving display will streak and blur at anything over 8–10 seconds — shorter shutter speed with higher ISO works better for active displays.
- Focus: Set to manual and focus to infinity (or slightly back from infinity — check by test-shooting a distant light). Autofocus does not work reliably in the dark on a starfield or aurora.
- Format: Shoot RAW, not JPEG. Aurora white balance varies significantly and RAW processing gives you full control over colour temperature and tint.
A tripod is not optional. Any handheld exposure over 1 second will be blurred by camera movement. Use a sturdy tripod and trigger the shutter with a remote release or the camera’s self-timer to eliminate vibration from pressing the shutter button.
Lens Choice
A wide-angle lens (17–24mm on a full-frame sensor, 11–16mm on a crop sensor) is standard for aurora photography. Wide angles allow you to include landscape foreground — a glacier, a lake, a mountain silhouette — which puts the aurora in context and creates a more interesting image than aurora against a black rectangle.
The wider the maximum aperture, the better. The 24mm f/1.4 and 20mm f/1.8 primes are popular choices for aurora work. Zooms at f/2.8 work well. Kit lenses at f/4 or slower are marginal.
Forecasting Tools
Two forecasts matter: aurora strength and cloud cover.
vedur.is (Icelandic Meteorological Office) — the most reliable cloud cover forecast for Iceland. Check the cloud map for the night you’re planning to shoot. Iceland’s weather is highly localised; one side of the country can be overcast while the other is clear.
The Aurora app (available on iOS and Android) combines the KP index forecast with cloud cover in a single map. The KP index measures geomagnetic activity — KP1 or KP2 produces faint displays visible only far from light pollution; KP4+ produces displays visible from city outskirts; KP6+ produces dramatic displays visible from within cities.
spaceweather.com and swpc.noaa.gov give more detailed 3-day forecasts of solar wind and geomagnetic activity if you want deeper prediction accuracy.
The practical approach: monitor vedur.is and the Aurora app each afternoon. If the KP forecast is KP3 or above and cloud cover shows clear skies at your planned location, head out.
Best Locations Near Reykjavík
The key variable is light pollution. Reykjavík’s orange glow extends 15–20km in all directions. Get outside that radius for materially better viewing conditions.
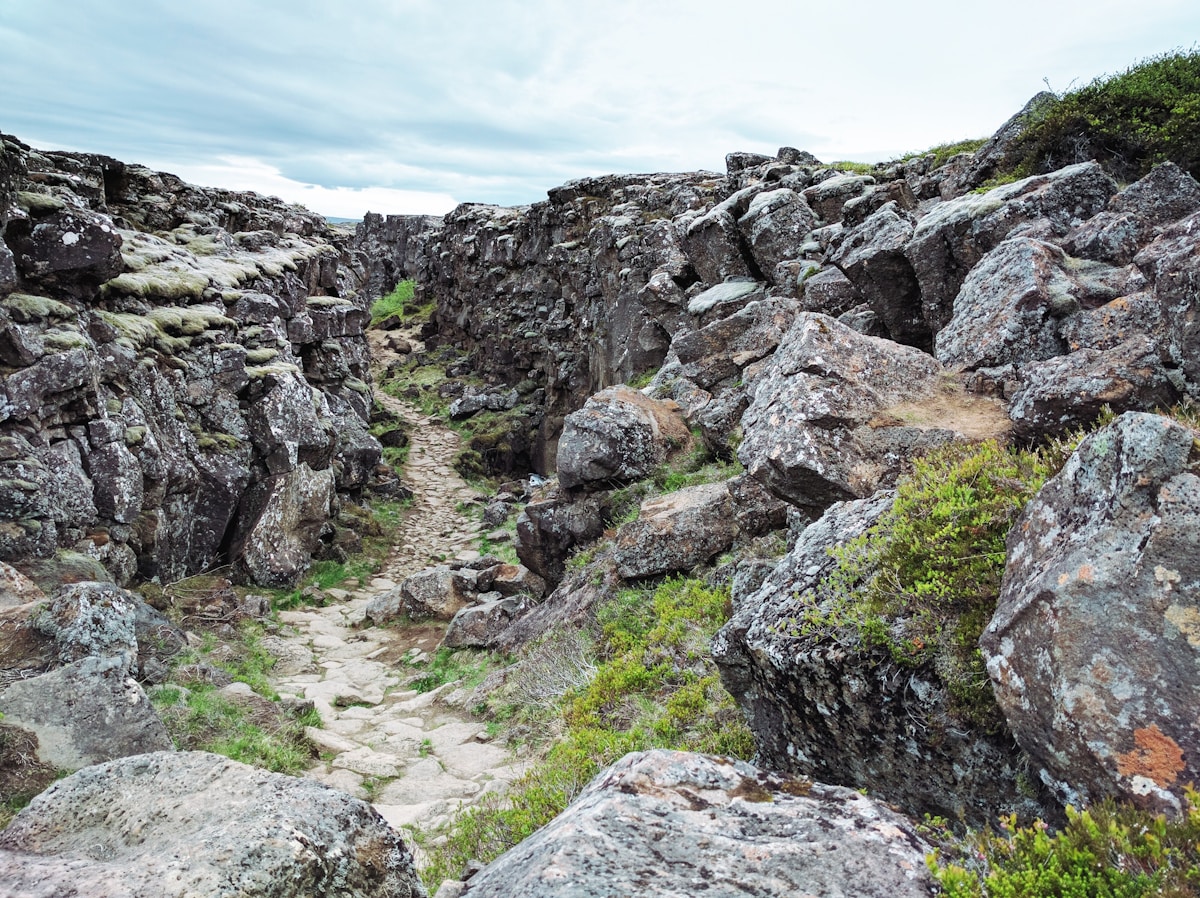
Þingvellir National Park (50km east of Reykjavík): The most accessible dark-sky location within the Golden Circle circuit. The national park has low ambient light, interesting foreground (lake, rift valley, church), and is easy to navigate at night because the roads and car parks are familiar to most Iceland visitors. The Þingvellir lake reflects the aurora particularly well on calm nights.
Snæfellsnes Peninsula (180km west): The peninsula protrudes into the Atlantic and has minimal light pollution on its western and northern shores. Arnarstapi and the Snæfellsjökull glacier provide dramatic foreground. The Snæfellsnes road trip guide covers the driving routes.
Vík and the Black Sand Beach (180km southeast): The black sand beach at Reynisfjara near Vík faces north across the ocean. On nights with strong aurora activity, reflections on the wet sand extend the light display across the foreground. Note the safety warnings about sneaker waves — Reynisfjara has claimed lives. Stay well back from the water’s edge at night.
South Coast (any dark pull-off): The South Coast ring road has numerous layby pull-offs with minimal surrounding light. Stopping anywhere between Selfoss and Vík on a clear night with KP3+ activity is often enough — you don’t need a famous location.
North Iceland (Akureyri area): Darker skies generally, and the aurora tends to peak further north. If you’re already in Akureyri, drive east along Eyjafjörður or north on Route 82 to reach darker terrain quickly.
What to Wear
This is the part most guides underestimate. Standing stationary at night in Iceland — even in September or October — is cold. You will be colder than you think you’ll be before you go out.
Minimum useful layers:
- Thermal base layer (merino wool or synthetic — avoid cotton)
- Insulating mid layer (down jacket or synthetic fill)
- Waterproof wind-blocking outer shell
- Warm hat covering ears
- Waterproof gloves (thin enough to operate camera controls; carry a spare warmer pair)
- Warm socks + waterproof boots rated to -10°C or below
Hand warmers are worth carrying. Operating camera controls with cold hands is difficult, and hand warmers bought from any Icelandic outdoor shop (or packed from home) extend the time you can work comfortably.
Cold temperatures also affect battery performance — camera batteries deplete faster in cold. Carry a spare battery kept warm in your inner pocket and swap it out when the main battery drops to around 30%.
The Season
September–March provides the darkness needed for aurora photography. Specific patterns:
| Month | Dark Hours | Aurora Conditions | Notes |
|---|---|---|---|
| September | 12–13 hours dark | Increasing, first autumn storms | Often underrated; can have excellent clear periods |
| October | 14–15 hours dark | Good | Manageable temperatures; active aurora season starts |
| November | 18+ hours dark | Active but cloudy season | Cloud cover increases significantly |
| December | 20+ hours dark | Frequent activity but frequent cloud | Shortest days; warmest aurora parties in history during active periods |
| January | 18+ hours dark | Good activity, cold | Most reliable month for aurora activity with patience |
| February | 15–16 hours dark | Good | Improving temperatures; popular for aurora tourism |
| March | 12–14 hours dark | Reducing toward equinox | Spring equinox can boost activity; improving weather |
The **Northern Lights guide](/things-to-do/northern-lights-iceland/) covers tour options and viewing logistics if you’d rather leave the camera at home.
Tour Operators
If you want a guide to handle the driving and location decisions while you focus on shooting, several operators offer photography-specific Northern Lights tours from Reykjavík and Akureyri:
- Tours run approximately 3–4 hours
- Prices approximately ISK 8,900–15,000 per person as of 2026
- Most include transport in a super-jeep or minibus, a local guide familiar with current conditions, and a free rebook guarantee on fully overcast nights
Joining a guided tour on your first Northern Lights night in Iceland makes sense — guides can move quickly to find clear skies if your planned location clouds over.
A Note on Phone Photography
Modern smartphones (iPhone 15 Pro, Samsung Galaxy S24+, Pixel 8 Pro) have night modes that can capture faint aurora. Results vary dramatically depending on the strength of the display — a KP5+ storm will photograph on a phone reasonably well; a KP2 faint display generally will not. The fundamental limitation is sensor size and lens aperture, both of which favour dedicated cameras. A phone tripod (Joby Gorillapod or similar) helps significantly with phone aurora shots.
Book Northern Lights tours — operators run nightly from Reykjavík with a cloud-cover resail guarantee.
Compare car hire in Iceland — a 4WD or campervan gives the flexibility to explore at your own pace.
Get travel insurance for Iceland — policies covering glacier hikes, F-road driving, and volcanic disruption.
Related Guides
- Northern lights in Iceland — Full guide to forecasts, viewing spots, and tour options if you’d rather leave the camera at home
- Northern lights tours from Reykjavík — Guided tours with super-jeeps and local guides who know where to find clear skies
- Iceland winter itinerary — A full winter trip plan built around Northern Lights opportunities
- Iceland photography guide — Wider guide to photographing Iceland’s landscapes, waterfalls, and wildlife
- Snæfellsnes road trip — One of Iceland’s best dark-sky areas for aurora photography
Frequently Asked Questions
- What camera settings should I use for northern lights in Iceland?
- Start with ISO 800–3200, aperture f/2.8 or wider (f/1.8 if your lens allows it), and a shutter speed of 5–25 seconds. A faster aurora (more active display) needs a shorter shutter speed to avoid blurring the movement. Dial ISO up if the image is too dark, down if it's noisy. Shoot in RAW format to allow proper white balance correction in post-processing.
- Do I need an expensive camera to photograph the Northern Lights?
- A camera with manual mode and a wide-angle lens (17–28mm equivalent on a full-frame sensor) is the minimum useful setup. Full-frame cameras (Sony A7 series, Nikon Z series, Canon R series) handle high ISO better than crop sensors, which matters for Northern Lights. Many recent mirrorless cameras produce usable results at ISO 3200. A smartphone alone is not sufficient — even good phone cameras struggle with the long exposures needed.
- What is the best month to see the Northern Lights in Iceland?
- September through March provides darkness, which is the prerequisite. October and February tend to have the best combination of dark skies, manageable temperatures, and statistically lower cloud cover than November and December. September is often underrated — clear autumn nights with temperatures that remain manageable. March benefits from longer days returning but still long enough nights.
- Can you see the Northern Lights from Reykjavík?
- On nights with a strong display (KP4 or above), the Northern Lights are visible from Reykjavík despite the light pollution. However, the city's orange sky glow reduces contrast significantly. Driving 30–45 minutes from the city centre eliminates most of the light pollution and dramatically improves the quality of what you see and photograph.
Ready to explore?
Browse hundreds of tours and activities. Book securely with free cancellation on most options.
Browse on GetYourGuide →Best price guaranteed — same price as booking direct. We earn a small commission at no extra cost to you.